24 Nov What to Expect During Your Custom Home Design Process
Building your dream home is a long awaited wish for many in the Quad Cities area. But the process can be overwhelming if you don’t know what to expect. Here we offer a step-by-step guide explaining each step in your custom home design process.
Here’s What You Should Expect During Your Home Design Process
Each custom home design process is a little bit different. Although the small details differ slightly you’ll find a set script of steps that are usually the same. We’ve outlined those steps for you below to give you an idea of what to expect.
1. The First Step in The Custom Home Design Process: Planning the Design
Assuming you already have a location to build, you must come up with an idea of what your dream home looks like. Have a picture in your head and get as many details as you can down on paper. At the beginning of your custom home design process you’ll meet with your designer and together discuss each detail of your vision. Once you have a solid plan you’ll move onto…
2. Permits and Approvals
The next part of the home design process involves obtaining the necessary permits and approvals. Your builder submits information regarding your home design to your county our municipal officials. Things like your home’s design, site plan, construction plan, HVAC design, roof loading and energy analysis must be approved before any construction begins. This is a crucial step and you may end up rethinking your design should some aspects not meet with official approval. Once you receive approval you’re good to go onto…
3. Excavation
Your excavation crew clears your new home site of anything that is in the way of construction. This includes rocks, trees, debris and anything else they may uncover. The crew will level the ground at the site and dig the hole for the basement/foundation. At this time, if you are on city or county sewer and water, the crew connects the lines to your hook up. Next is…
4. The Foundation
Once the crew clears and levels your home site and digs the foundation it’s time to pour the concrete. The first task is to pour the footings for your basement/foundation. If you include a basement in your custom home design process then the the walls are poured after the crew sets the aluminum forms with rebar. Floor drains, basement bathroom and any there underground plumbing takes place before the floors are poured. At this point, depending on the time of year the concrete will need to set and cure. This aspect of the custom home design process takes anywhere from one week to a few weeks. Once set and cured an inspector must approve the components of your foundation and ensure they are up to code. Next comes…
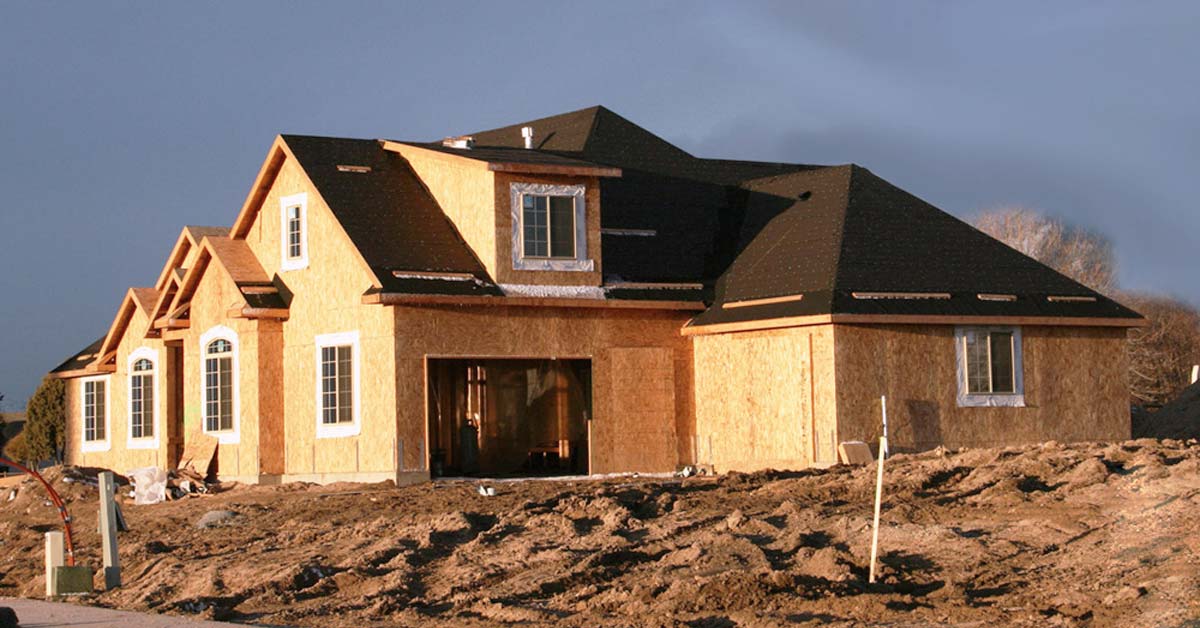
5. Framing Your Custom Home
All the major components of your custom home are included in the framing process. This is your new home’s skeleton and you will now see your home take shape. The crew completes the floor systems, wall structures, roof structures and supports during this part of the custom home design process. Now it’s time for…
6. Mechanical and Installation
It’s now all hands on deck as you notice your contractor has a few different crews working on different parts of your new home. Installation of the plumbing, HVAC, electrical system and even the exterior all goes on, typically, at the same time. This part of the custom home design process also includes installing the roof and any other exterior finishes. Now your builder goes onto…
7. Insulation and Drywall
Once the essential components of your home are in place (electrical, plumbing, HVAC) your building crew begins installing your insulation. This is a crucial step in keeping your energy costs down, especially in our area. Once the insulation is in place the drywall goes up. As your rooms become apparent you begin to see your home really take shape during this aspect of the custom home design process. And them comes…
8. The Interior Finishes
When the walls are complete and the crew has taken care of the exterior finishes it’s time for the fun part! Baseboards, crown molding, backsplash, cabinets, lighting fixtures and all the rest are installed during this part of the custom home design process. The interior fishing crew paints your walls as you decided and countertops, shower doors, flooring and all the “big stuff” gets installed at this point. Now onto…
9. The Punch List
This document is a checklist for your builder of the small but essential details that make your custom home your own. Door handles, switch plates, outlet covers and the like are minor details and easy for your builder to forget. The punch list references all of the details. You will walk through the nearly-finished home to determine if there is anything your builder missed. Make sure to mention and make note of anything you don’t like or that isn’t right. Your builder adds these tasks to the list and gets busy taking care of them before the…
10. Final Step in The Custom Home Design Process: The Walkthrough
The excitement of your custom home design culminates in the final walkthrough. This is when you and your builder walk through the completed home and they tell you about the system and appliance warranties and what to expect in terms of h9me maintenance. If there is any facet if your new home that doesn’t meet your approval this is your opportunity to correct it. Take a good look at every single detail. Once you approve your dream home is now yours. Time to move in and enjoy!
Your Professional Custom Home Design Go-To
Are you considering a custom home design for your dream home? At Seiffert Home Design we’ve been helping out neighbors in the Quad Cities and surrounding area for more than a century. We are a local family-owned company proudly serving the needs of our community. Contact Seiffert Home Design today and lets start the custom home design process together.